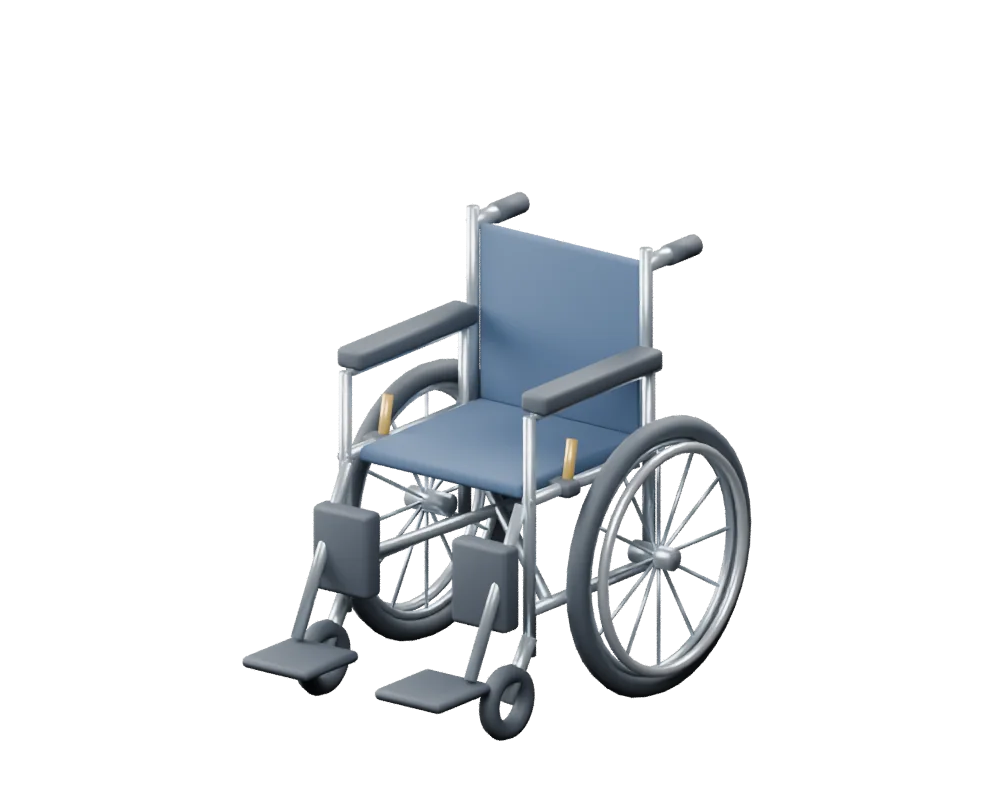
Explore the options your supplier and care team may discuss. These separate illustrations explain functions; they do not specify a combination of parts or a fit for you.
Read every seating and configuration topic
Seat cushions
A cushion can support comfort, positioning, and pressure management. Material alone does not tell you whether it is right for the person.
Foam offers a shaped support surface; air, gel, and fluid designs provide different ways to distribute load. Many cushions combine materials.
Check the fit: Check seat width and depth, cushion thickness, stability, cover, maintenance, and the person's skin and positioning needs. Added thickness changes sitting height and may require adjustment of foot and arm supports. No cushion eliminates pressure-injury risk.
Anti-tippers
Rear anti-tippers help limit backward tipping. They must be compatible with the chair and fitted as instructed.
They can add a measure of stability when the wheelchair configuration or user needs call for it.
Check the fit: They do not prevent every tip. Clearance and positioning vary by model; have the supplier check the setup, especially after seating or axle changes.
Desk vs full-length arms
Full-length arm pads provide a longer surface for the forearm. Desk-length arms leave more space at the front of the chair.
A shorter arm can let the chair approach some desks and tables more closely. A longer pad offers more forearm support area.
Check the fit: Table height, apron clearance, arm height, and the user's reach still matter. Arm length does not tell you whether the assembly is removable or flip-back.
Removable / flip-back arms
Fixed arms remain attached. Removable assemblies lift away after their release is operated. Flip-back arms pivot away on a hinge.
Some removable and flip-back designs provide access beside the seat for an individually planned transfer.
Check the fit: Availability, release mechanisms, and locking checks vary. Follow transfer training, and never use a removable arm to lift the chair. These drawings explain the function, not the release procedure.
Bariatric variants
Bariatric or heavy-duty wheelchairs are designed for a specified higher load capacity. They can have reinforced frames and different seating dimensions.
An appropriately rated configuration can provide the capacity and seating space the person needs.
Check the fit: Verify the exact labeled capacity, usable seat width/depth, overall width, equipment weight, cushion rating, and home access. A wider chair is not automatically rated for a higher weight, and extra width is not automatically a better fit.
Hemi-height
Some wheelchairs offer a lower seat-to-floor setting, often called hemi-height. Availability and the adjustment method vary.
A lower setup may help a suitable user reach the floor for foot propulsion or achieve a needed sitting height.
Check the fit: The supplier must check rear axle and front caster settings together, seat angle, wheel locks, foot-support clearance, cushion thickness, and reach. This is not an instruction to lower a chair yourself.
Amputee axle extensions
On compatible chairs, amputee axle extensions or plates allow rearward wheel placement. This can help accommodate a changed center of gravity after limb loss.
A rearward axle position may improve rearward stability for an individually assessed setup.
Check the fit: Wheel placement also changes reach to the hand rims, handling, wheel-lock position, and transport dimensions. Use compatible manufacturer parts and an assessment by the seating team or supplier; an extension alone does not make a chair tip-proof.
Residual-limb supports
A residual-limb support is a padded platform designed to support a limb after amputation. It is different from an axle extension or a standard footrest.
It can provide a support surface when a standard lower-leg and foot support does not match the person's needs.
Check the fit: Pad size, height, angle, pressure, skin protection, and the desired limb position need individual assessment. Confirm chair compatibility and how the support moves out of the way for transfers.
Positioning belts
A wheelchair positioning belt can help maintain an assessed pelvic position. It is sometimes called a seat belt, but its purpose and use must be clear.
When appropriate and correctly fitted, it can complement the cushion and back support in a positioning plan.
Check the fit: It is not a vehicle occupant restraint or an automatic fall-prevention solution. Incorrect fit or sliding can be dangerous. Belt selection, release ability, supervision, and any restraint considerations must be addressed by the care team.
Lateral trunk supports
Lateral trunk supports are pads positioned beside the torso. They may be fixed, adjustable, or swing-away, depending on the seating system.
They can help an appropriately fitted seating system support trunk alignment and sitting stability.
Check the fit: Pad location, pressure, breathing clearance, skin, reach, and transfer access need individual assessment. They are not armrests and should not be used to force a posture the person cannot comfortably achieve.
Function diagrams only. Setup, compatibility, and training depend on the actual equipment and the individual.